
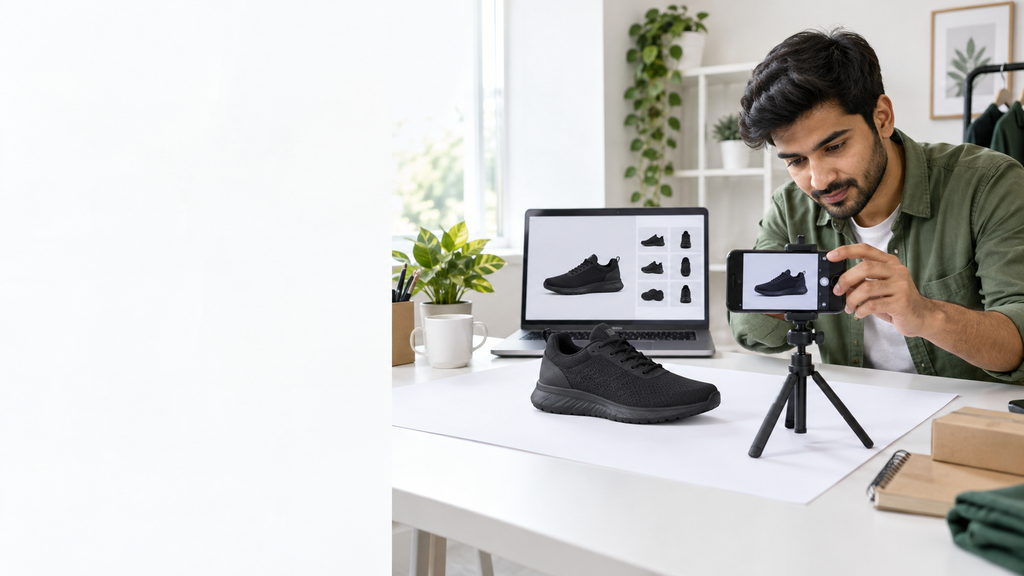
eBay listing photos play a major role in helping buyers decide whether to click on your product. Before reading your description, buyers usually look at the main image to understand the item, its condition and its quality.
For beginners, good product images do not require an expensive camera or a professional studio. You need clear lighting, an honest presentation and enough photos to show the buyer what they are getting.
This guide explains how to create better eBay listing photos step by step.
Why Are eBay Listing Photos Important?
Online buyers cannot touch, try or inspect your product in person. Your photos must answer their questions before they need to message you.
Clear product photos can help you:
- Get more clicks from search results
- Build buyer confidence
- Explain the product’s condition
- Reduce unnecessary questions
- Reduce the chance of returns
A poor image can make a good product look unreliable. A clear image can make your listing look more professional and trustworthy.
Use a Clean Main Image
Your first image is the most important one because it appears in eBay search results.
Use a simple and clean background so the buyer can focus on the product. A white or light plain background is usually best for most items.
Make sure the product is clearly visible and takes up most of the image space. Do not make it too small, too dark or too far away.
For example, if you are selling shoes, the first photo should show the full pair from a clear angle. Do not use a busy room, a messy table or unrelated objects in the background.
Use Bright, Natural Lighting
Good lighting makes a big difference. Try to take photos near a window during daylight. Natural light helps show the real colour and texture of the item.
Avoid very dark images, strong shadows or coloured lights. These can make the product look different from its real condition.
If you use indoor lights, make sure the product colour still looks accurate. Buyers should receive an item that matches the photos in the listing.
Show Multiple Angles
One photo is usually not enough. Buyers want to see the product from different sides.
For most products, include photos such as:
- Front view
- Back view
- Side view
- Close-up of important details
- Size label, model number or tag
- Packaging, if included
- Any minor defect or sign of use
For clothing, show the front, back, size label, material label, buttons, zips and any important details.
For electronics, show the front, back, ports, model number, accessories and condition.
Show the Real Condition Clearly
Always show the actual item honestly. If there is a scratch, mark, stain, missing part or small defect, take a clear close-up photo of it.
Do not hide damage with editing, filters or angles. Honest photos protect your seller reputation and help avoid disputes later.
If a product is used, the buyer should be able to understand its condition from the images before buying.
Keep the Product in Focus
A blurry photo can make buyers leave your listing quickly. Before uploading, zoom in and check that the image is sharp.
Hold your phone steady or place it on a simple stand. Clean your phone camera lens before taking photos. This small step can improve image quality immediately.
Also make sure the product itself is clean, neat and properly arranged before you take pictures.
Do Not Add Unnecessary Text or Graphics
Your product photo should focus on the item itself. Avoid adding large text, prices, promotional badges, arrows or unnecessary logos over the image.
Instead of writing product details on the photo, add accurate information in the title, item specifics and description.
Clean photos look more professional and help the buyer understand the product naturally.
Use Consistent Photos for Your Store
If you sell similar products, try to use the same background, lighting and image style for each listing. This makes your eBay store look organised and professional.
For example, you can create a small photo area with:
- A plain white wall or backdrop
- A table
- Natural light from a window
- A phone stand or tripod
You do not need a costly setup. Consistency is more important than expensive equipment.
Check Your Photos Before Publishing
Before you publish your eBay listing, ask yourself:
- Is the product clearly visible?
- Does the first image look clean and professional?
- Are the colours accurate?
- Have I shown important details and labels?
- Have I shown any defects honestly?
- Are the photos sharp and well lit?
If the answer is yes, your listing is ready for the next step: writing a clear product title and description.
Final Thoughts
Good eBay listing photos help buyers feel confident about your product. Use clear lighting, a clean background and multiple honest angles. Small improvements in your images can make your listings look more professional and easier to understand.
At E-Com Kamalia, students learn practical eBay and Etsy skills including product research, listing creation, product titles, images, SEO and store management.
Ready to Learn eBay & Etsy Practically?
Join E-Com Kamalia’s physical eBay & Etsy training in Kamalia. Learn practical skills with guidance for complete beginners.
Want to Learn eBay & Etsy Practically?
Join E-Com Kamalia’s physical 3-month training in Kamalia. Fee: Rs. 15,000 per month. Complete beginners are welcome.
View Course WhatsApp for Admission